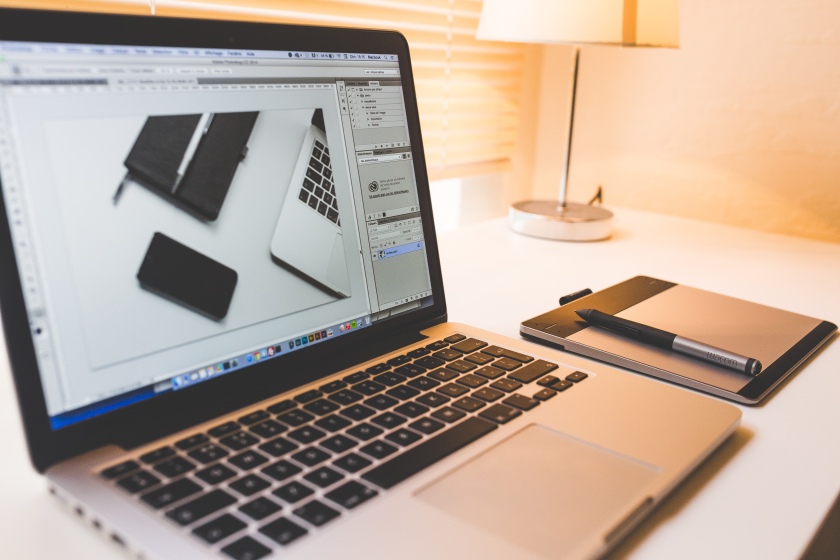
Over the past 10 months, I have been very in depth, learning all that there is about multimedia in my education. I have picked up new skills, gained knowledge about modern technology, and learned about all the different software and ways to use them in digital design. My education experience in multimedia has been the best experience, and I will always be grateful for doing it.
I have learned so many different design techniques and tools to use. From color theory, to sound editing, to graphic design, there really was not anything I didn’t get information about. The Joshua tree epiphany was one of the first thing I learned about and still religiously use to this day. I love the hilarious acronym for it (C.R.A.P) and how much the use of it can actually make a design. This was probably my favorite of all the principles and tools I learned to use because of how much it opened my eyes to design. One thing that will remain always in my presence for as long as I am designing (and living) is the Non-designers Design Book. The title of this book should be pretty self explanatory. If you are just starting to get into not only digital design, but really any kind of design, this book will really open your eyes as it has done to me. After getting all the information I could from this book, there is no doubt that I realized that the tools this book gives you also goes beyond a design perspective, but a life perspective. There are so many things we see and do that are all made up of designs of another person and reading this book REALLY made me ponder about how much of that people actually don’t realize (including myself before reading).
Photography in multimedia was one of the most fun areas to experiment with, just because I had known nothing about it and suddenly had all the basic tools I needed to get started with it. This is one area of learning that I am extremely glad to have learned. Without this knowledge, I have no idea how I would have ever gotten into photography despite wanting to for so long. This section in multimedia motivated me to go outside more and appreciate the views in front of us. There is never a time now that I will not want to catch a photo and share it with others. Photography has also opened up my own potential to myself and what I am capable of. I have taken some really awesome photos that I would have never imagined I would have been able to and honestly, it makes you feel proud!
Illustration/Graphic design is probably the most nonchalantly impacting things I got the grasp of throughout my learning experience. I have very much so improved my design skills with the new knowledge of vectors (AMAZING) vs pixels, compared to my years ago designing graphics in INDESIGN… I did not have the right guidance or knowledge of software and how they work when I began learning digital design. I was not provided with industry standard software and was very incorrectly instructed on how to use them. NOW, my “teacher” (he’s not really a teacher he is just someone who will stand behind you and tell you how bad your work is…JOKING) who is actually more so a director or partner to me, has given me more than enough information and realistic criticism for me to connect the dots and use my skills correctly, and this is especially with the graphic/illustration part of design. I have subconsciously grown, as we all do, in terms of my graphic designs and illustrative elements. It’s one of those things where you don’t realize until 10 years later how much better you are now until you smack a literal comparison of your work into your face. With that being said, I am now confident that I can continue to grow in this specific section especially, because of how much I have learned.
My least favorite thing about learning in multimedia design is …animation. Although not difficult if you have the time and tools to want to get good at it, animation was one of the most challenging but rewarding areas of multimedia. I got the most frustrated and the most challenged because of how many elements there actually are to animation, and for personal reasons, not enough time to master what little information I have learned. I don’t hate it, but I do know that it is one of the most rewarding types of design after you’ve completed it.
So, to any students reading this, what you should take from this is it’s not as hard as you think… Generations today are given so many tools to use in their advantage, and it’s really only YOUR choice to either make the most out of it, or don’t. No one can push you and motivate you like YOU can and in the end, the amount of effort you put into something, including educating yourself no matter what way it is, determines the outcome. You really don’t need a four year degree in “graphic design” from a university that is sucking the money out of your life. In my personal opinion, YOU have the tools to get up and take the initiative to learn about things yourself and you really don’y need anyone telling you that your outcome will be being handed a piece of paper that says “congratulations!”. It really is true that your life is what you make it.
I do have to say that my “teacher” whether he thinks it or not, has been very impactful to my education. I would not even know or think about the possibilities I have been taking advantage of if it weren’t for the realism and experience of being around him. Because of my “teacher”, I continue to stay motivated as a self starter and also reflect on how good or bad some things can actually be in terms of design. As I have stated before, I see him more as a director or partner, and not someone who treats you with an obvious higher authority. I was always able to talk to my “teacher” (i’m just gonna keep putting it in quotes) on a personal business and equal partner level, just as though I WERE coming to a job and consulting with other teams, and that is exactly what I needed to experience.
I now analyze the design of things in every day life that I wouldn’t before, I’m now CLEARLY the greatest designer of all time, and I have information that will always be there in my head and continue to grow. There is a company interested in me to train to become a creative director and because of taking time and money myself to learn what I need and want to learn, I am able to do so.


